Featured Content
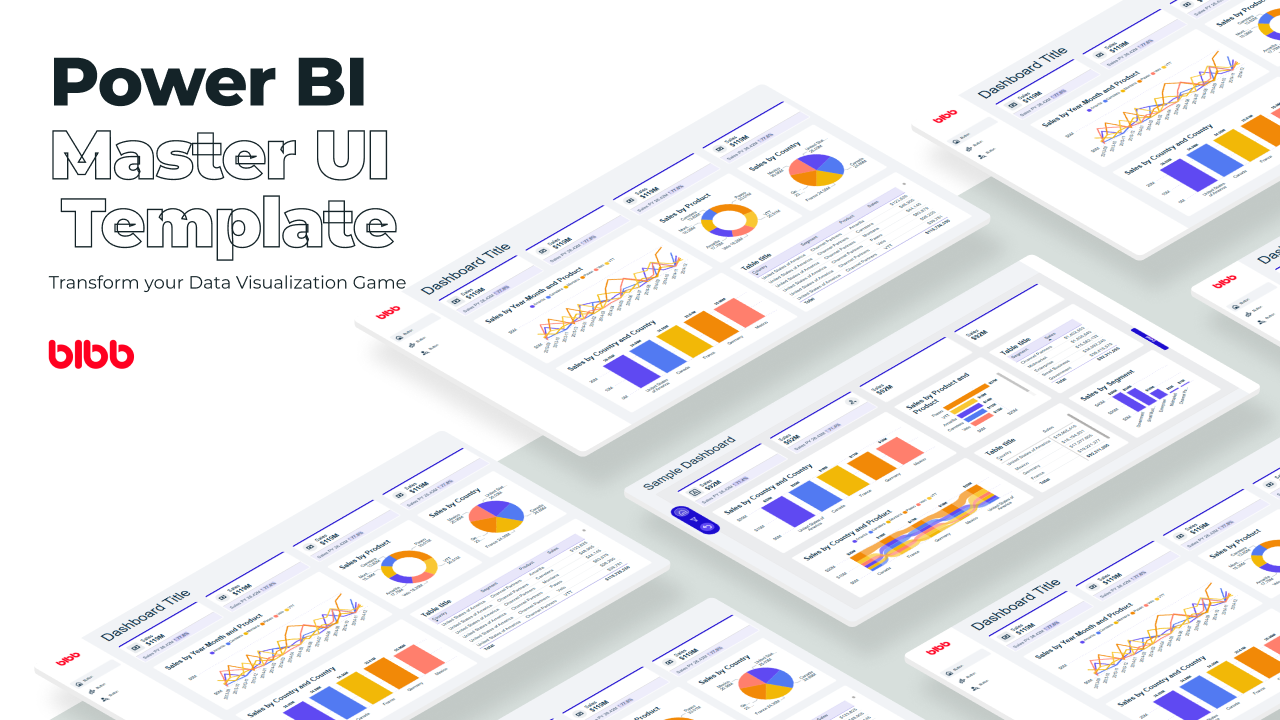
Power BI Master UI Template
Develop Data Visualization 80 % Faster - 4 Premium Templates · 7,000 Icons · 100% Theme Generator compatible
6 Power BI Modern Button Slicer UI Patterns for Better Dashboards
Learn 6 Power BI Button Slicer UI patterns to build modern dashboards: segmented controls, tabs, KPI cards, toggle buttons, and more.

Salesforce Power BI Integration: A Practical Comparison Guide
Salesforce Power BI integration done right: compare native connectors, custom API, and the Metrica connector to choose the best approach for your team.

How to Design Better KPIs Before They Mislead You
How to design better KPIs starts with knowing what your formula isn't measuring. A real BI case study in dashboard blind spots, with DAX examples and a fix.

AI Agent Skills: Stop Paying for Tokens You Don't Need
AI agent Skills replace bloated instruction files with on-demand context loading — cutting token waste by 80% for Excel and Power Query workflows.

KPI Tree for Performance Management: A Visual 7-Step Guide
KPI Tree for Performance Management: a practical 7-step method to align strategy with KPIs, cut metric overload, and create dashboards people actually use.

Why Your BI Team Needs a Product Mindset, Not Just Reports
Discover why developing a BI team product mindset is essential for building compounding value. Learn how to shift from reactive reporting to strategic product thinking.
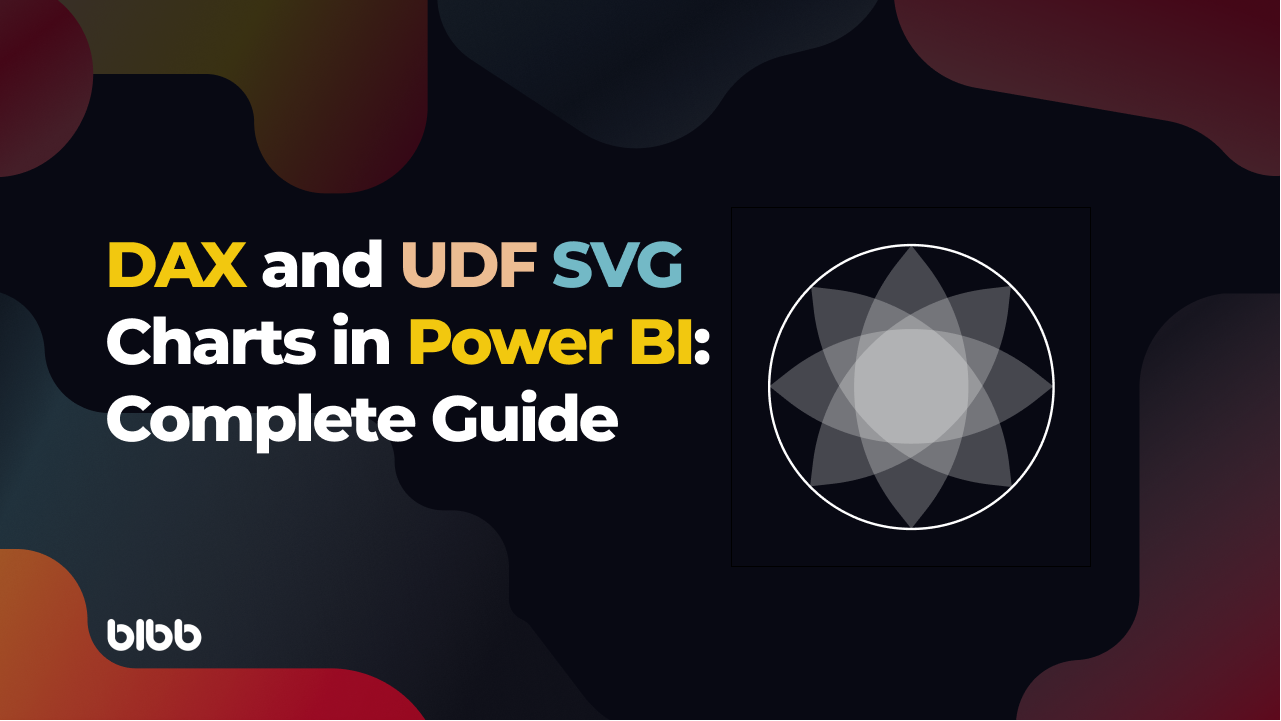
DAX and UDF SVG Charts in Power BI: Complete Guide
Learn to build DAX and UDF SVG charts in Power BI with this complete guide. Create custom visualizations using pure DAX code with dynamic scaling and conditional formatting.

DAX + UDF = the React of Power BI
Learn how to combine Power BI DAX user-defined functions with HTML visuals to build reusable KPI cards, tables, and progress bars that wow report stakeholders.

Automating Power BI Themes with Fabric, Notebooks and BIBB Theme Generator API: A Complete Guide
Learn how to automate Power BI report theme updates using Microsoft Fabric, Python, and the BIBB Theme Generator API for seamless theme management.

What is a Template in Power BI? Settling the debate.
Understand what each Power BI Template type does, when to use it, and how it shapes the user experience.
Grid System Applied to Report Design in Power BI

Overview
In this post, we will cover the basic concept of a grid system that allows us to understand the value of this tool and the usefulness of these design principles. We will also explore the options available in Power BI to adopt and apply this framework, and provide a quick start guide to build a grid system for your reports.
What is a Grid System?
A Grid System is a two-dimensional structure composed of a series of horizontal and vertical axes that form intersections between axes, resulting in a structure that allows you to position, align, contain and organize any visual element in a compositional layout.
The following image shows the anatomy of any Grid System with its basic components and the resulting basic structures.
 Anatomy of a Grid System showing basic components and structures
Basic Components
Margins
Margins are the negative space provided to delimit an area where we can integrate different communication elements to define a page layout and focus attention on the visual and narrative content. (Want to know more about whitespace? Dashboard design basics - whitespace)
Flow-lines
Flow-lines are horizontal alignments in a grid system that assist in organizing visual elements and negative space.
Modules
Modules are individual units that, when repeated and separated by a proportional spacing, create the grid system, and when combined, they create columns and rows.
Spatial Zone
Spatial zones are grouped modules that form containers to display related information elements.
Column
Columns are containers with vertical alignment that hold visual and narrative content and create vertical divisions, and there can be any number of columns in a grid system.
Markers
Markers help readers to navigate the document; these include page numbers, headers, footers, and icons.
Gutter
A gutter is a vertical space located between columns.
Basic Structures
The first basic structures of single, double, and multiple columns are not considered for our design purposes. Their application may be limited, so we will focus on the last three more suitable structures to the complexity and amount of elements that we integrate into a report.
Hierarchical Grids
It is an arrangement of alignments and zones that allows the organizing and display of visual elements in order of importance.
Modular Grids
A modular grid is composed of vertical and horizontal alignments which arrange the structure into smaller chunks of space, creating modules, usually squares, that are used to contain, organize and display complex information.
Compound Grids
Composite grids are formed by integrating or nesting two or more grid systems into an organized and systematic structure, which allows for more variation in the layout design.
Grid System in Power BI Context
Grid systems originated to serve as a guide, tool, and framework for printed products; as such, the Grid system has evolved, and its use has gone beyond this context and has been used in designing digital products, specifically in web design. It’s a tool that has proven its efficiency over time and in different media, so it is necessary to take this framework for designing reports to organize and present complex and multifaceted information systematically and aesthetically.
Many requirements drive every report we design, so we must make a specific approach to the Grid system we will use for each case; we can’t start dropping visual objects on the page; there must be a purpose for each graphical object that requires our report, and each visual will have a specific place prioritizing the information that needs to be displayed, and this is where our grid system comes into the scene.
Each design problem requires a different approach and application of the grid system.
The use of a simple grid understood as just the intersection of lines is not enough to achieve an adequate layout and composition for our report; it is necessary to go further and incorporate the principles and framework of the Grid system to start an effective design, which allows us to organize, hierarchical and facilitate the consumption of information in our report.
Power BI has Gridlines in the Pane View > Page options > Gridlines; it’s the essential reference that you could have and use as an auxiliary design tool; it is just a simple intersection of axes that form modules of 96px*96px; however, its simplicity does not demerit its usefulness, because it has intelligent guides, these work fine when selecting a single object, but in the case of having several selected elements, it’s necessary to group them to have the auxiliary alignment provided by the guides, once placed the first element we can go organizing and integrating more features into your report.
Another available option is on the Pane View > Page options > Snap to grid, with this option, you can move all your elements according to the modules of the grid, but its use can be a bit tricky because any part is resized to the closest axis to which it is located just by moving it.
 Power BI Gridlines option in the View pane
 Power BI Snap to grid option for precise element positioning
Quick Start for Building a Grid System
To start building a proper grid system for our report, we must consider several factors, some of which we can list: The canvas dimension, the type of report (pane, analytical, operational), how many pages our report will have, what metrics we will use, which and how many visual objects we consider using, what type of navigation we will use, as well as other factors that we can go into in more detail in future posts.
For now, we can start with a test to build the page layout of our report, using as a reference the position of the first module that shows the Gridlines option; we need to understand a little the layout and dimensions of the grid that Power BI offers us to integrate the elements of a grid system in our composition.
We begin placing the first element in the module that is formed in the intersection of the second row with the second column of the grid; considering that we need to integrate the essential elements of a grid (Margin, Flowlines, Gutter, etc…); we size our first module of 88px*88px leaving 8px space between each module, doing this way we take advantage of the 96px per module that has the Gridlines by default, and we get 16px between each module; which is just the jump space between objects that Power BI uses when the “Snap to grid” option is enabled without the limitations of movement and without the inconvenience of resizing the objects to the dimensions of the grid; a way to achieve this 16px space jump without enabling this option is to hold down the shift key while moving our element with the arrow keys; once the first element is located, we can start building our modular grid system from this one.
The following image shows a 2*2 grid with the dimensions per module and spacing just described.
 Example of a 2x2 grid with proper module sizing and spacing
Getting Started with Your Custom Grid
As a first approach, we exposed the basic concepts and our first exercise of a grid system construction; now, you try to start building your custom grid.
 Example of a custom grid system applied to a Power BI report layout
By implementing these grid system principles in your Power BI reports, you’ll create more organized, visually appealing, and user-friendly dashboards that effectively communicate your data insights.
Comments
Share your take or ask a question below.